When setting up the brake system for your racecar, one of the most important steps is properly adjusting the front and rear brake bias for optimal braking control, performance, and safety. In the video above, Tilton Engineering gives us an in-depth look at the process of adjusting brake bias on a dual brake master cylinder system using a balance bar.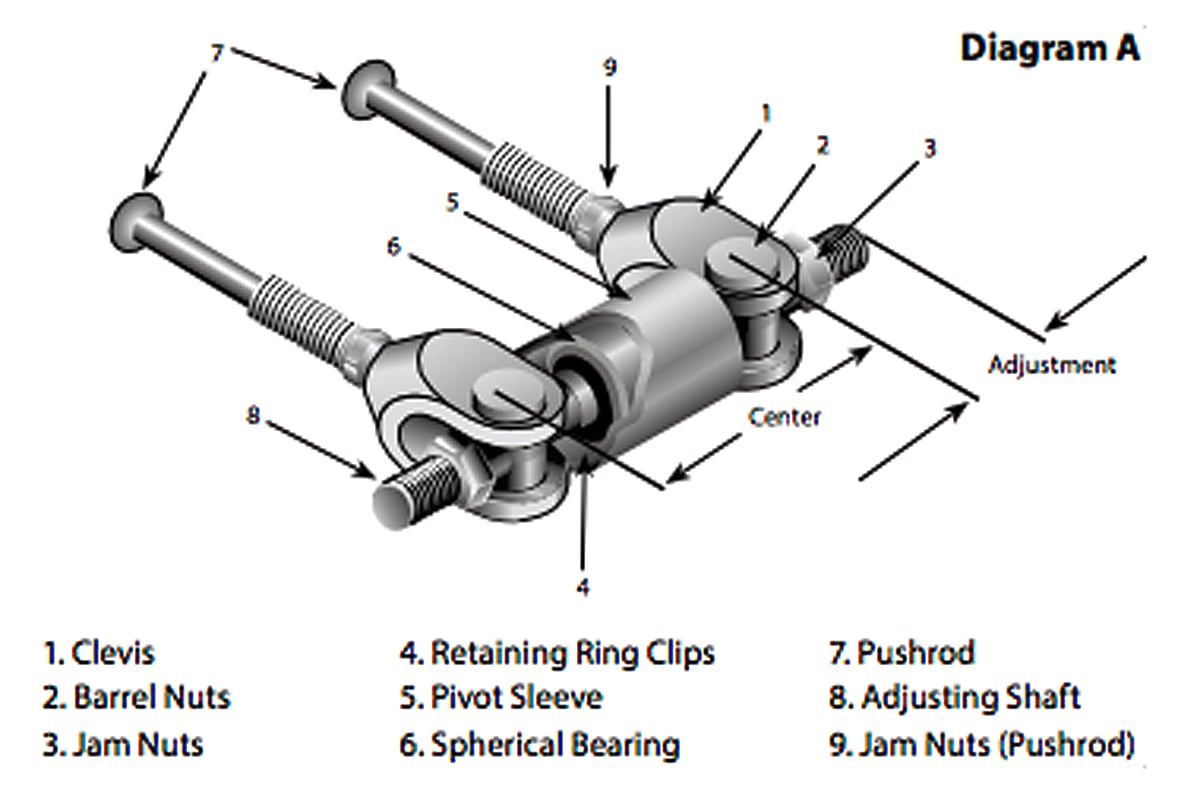
The brake balance bar is used to fine tune brake bias, if the balance bar is not set up properly, braking will not perform as expected and will dramatically reduce the vehicle’s control when under heavy braking. Because most vehicles utilize a large brake caliper up front, the brake system should have more of a front end bias for optimal control. If not enough bias is given to the front brakes, the odds of both the front and rear wheels locking up simultaneously and sending the car into a spin increases dramatically.
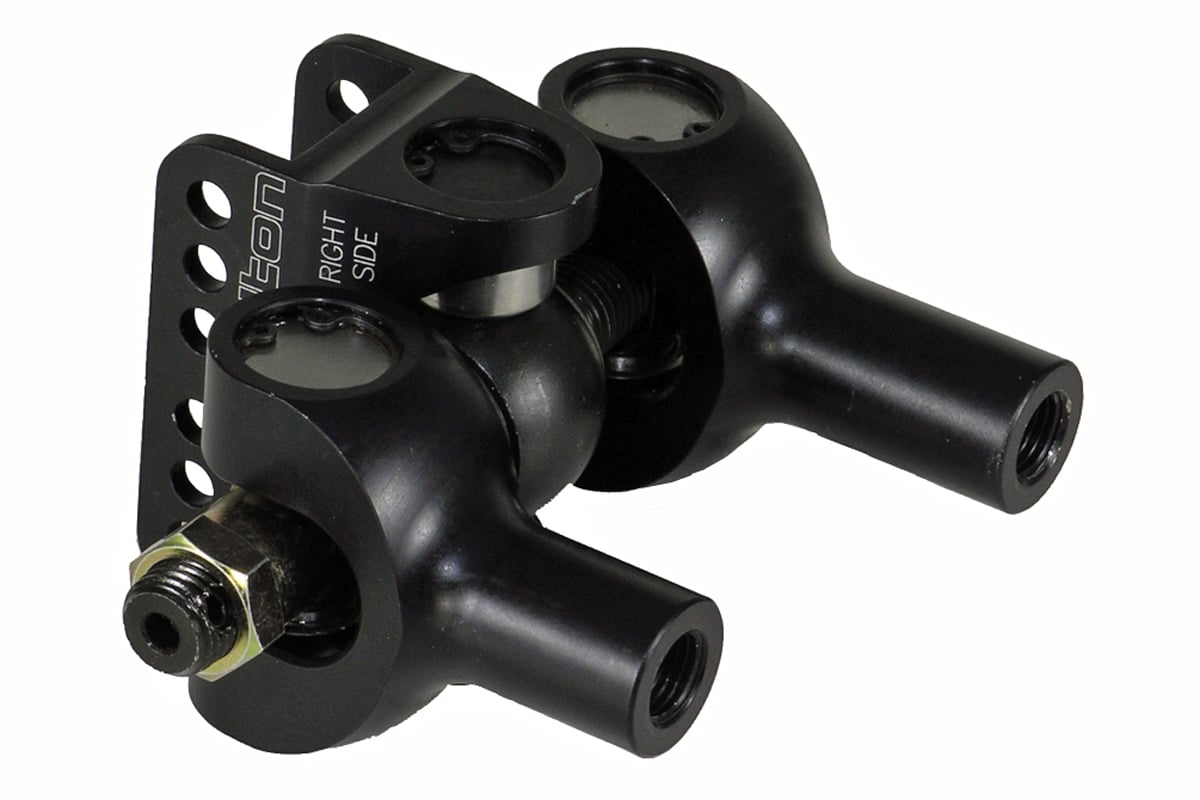
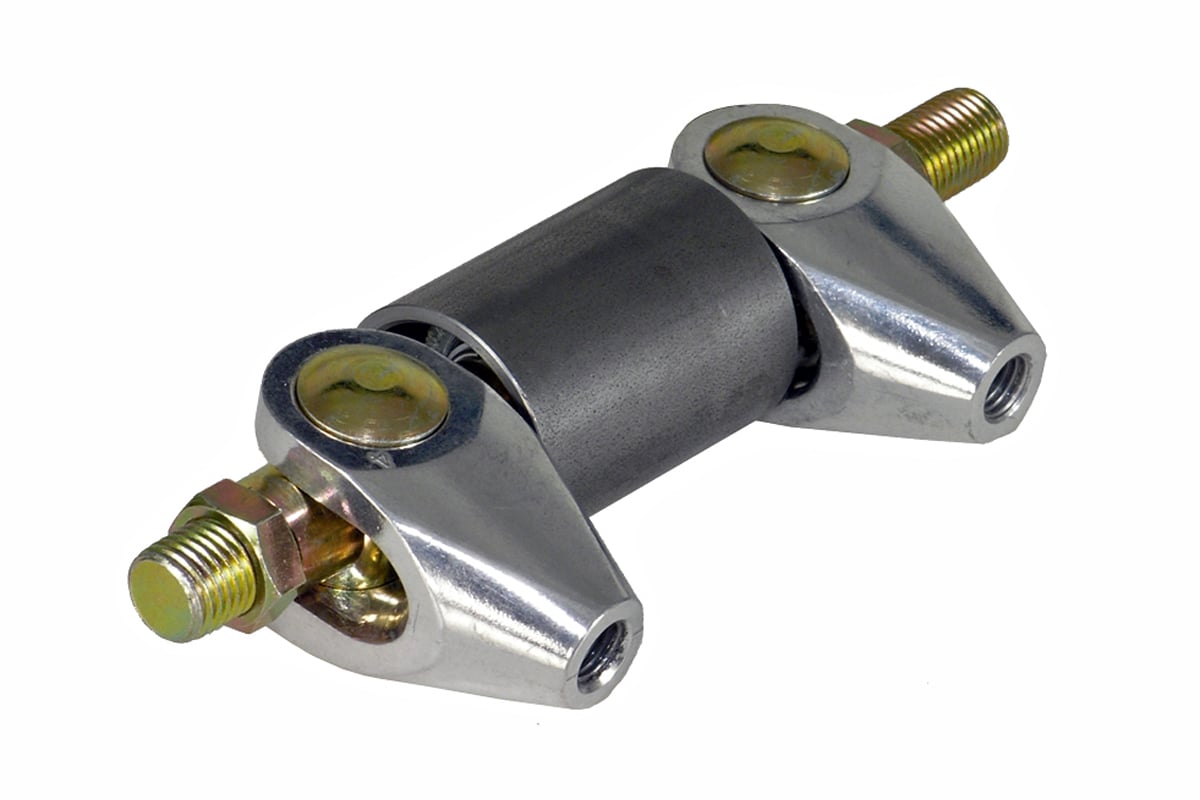
Left: Tilton 900-Series balance bar assembly. Right: Tilton 600-Series balance bar assembly.
Balance Bar Mounting
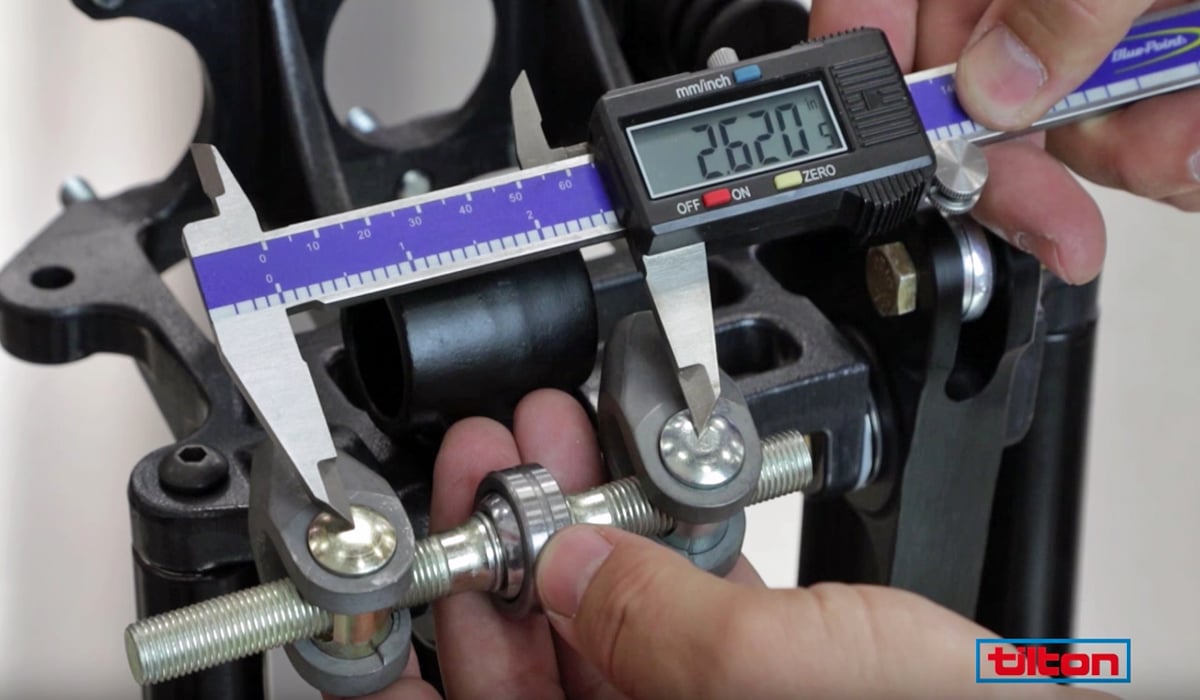
Once you have all of your parts out and organized, you’re ready to begin the install. First, pass one end of the rod through the mount and then install the clevises. Next, confirm that the spherical bearing is perfectly centered between the clevises by rotating the rod as needed. The exact center measurement can usually be found in the instructions that came with your balance bar.
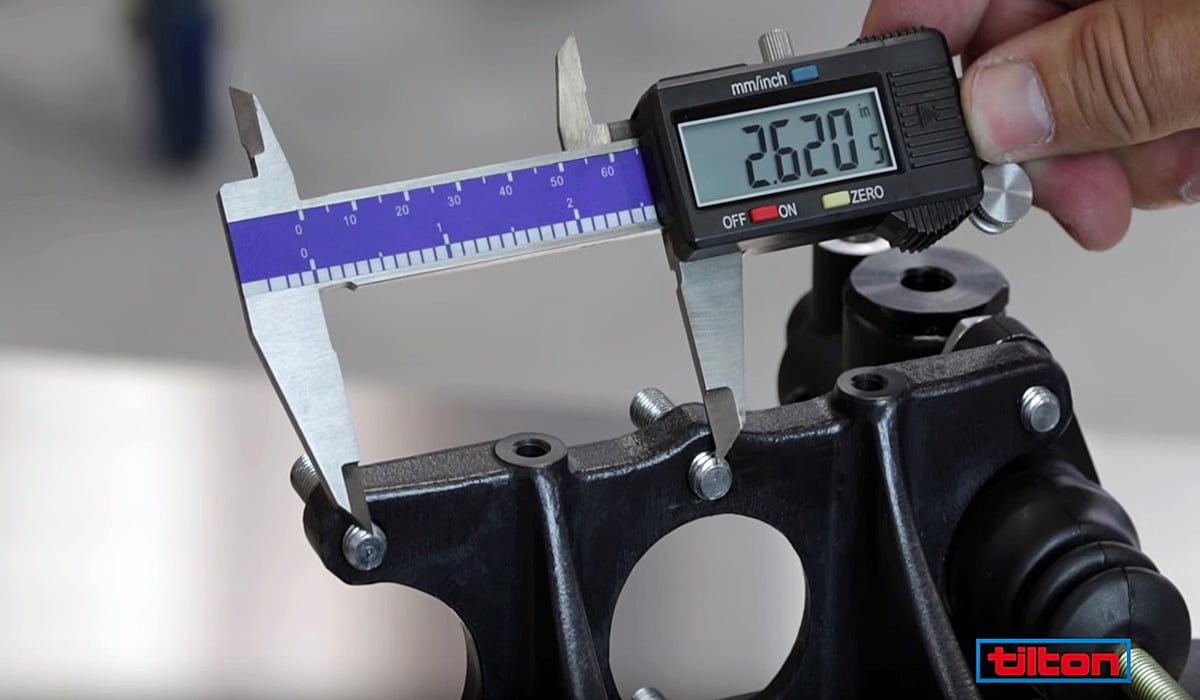
Once you have verified that the spherical bearing is centered, use that measurement to then verify that the mounting points for the master cylinders will line up with your balance bar assembly.
Verify that your clevises will perfectly line up with the master cylinder push rods to prevent any damage.
Master Cylinder Install
Once your balance bar is set, you can begin installing the master cylinders. Start by threading the push rod of each master cylinder into the clevises, the position you set the push rod will determine your overall pedal position. Tilton recommends that you confirm that at least six threads on each push rod are engaged within the clevis to prevent any thread damage or failures while driving.
When threading in the rods, make sure that each rod is being threaded in equally to prevent any unnecessary strain on the hardware, then use your digital caliper to confirm that both rods are threaded in equally.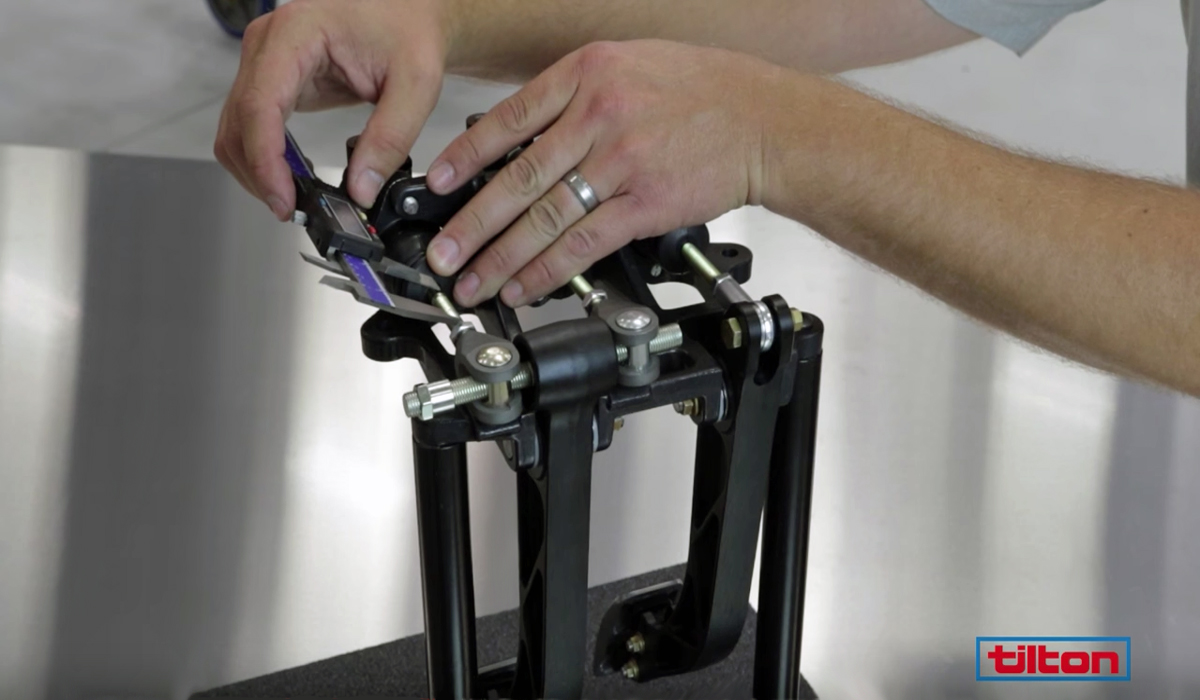
Now that your master cylinder rods are inserted evenly and the balance bar is perfectly centered, you’ll need to make one final adjustment to one of the push rods before moving on. Your average front brake master cylinder reservoir is usually smaller than the rear and feeds a bigger set of calipers, which means that the front master cylinder push rod will need to be adjusted an additional 1/4 inch longer to compensate. Once all of the components are set, remember to tighten any locking nuts before driving the vehicle to prevent any unintended adjustments.
After the system has been installed and you have finished bleeding the system, press the brake pedal with normal force. To visually verify proper alignment, the balance bar should be parallel with the firewall when load is applied to the pedal.
Adjusting Bias
With the system properly installed, you can begin driving the car to get a feel for the brake bias and to make adjustments as needed. We always recommend performing any testing in a safe environment like a racetrack or on private property with permission. That way you aren’t going to be rear ended by a soccer mom when you brake check her or crash into a school bus when you add too much rear bias.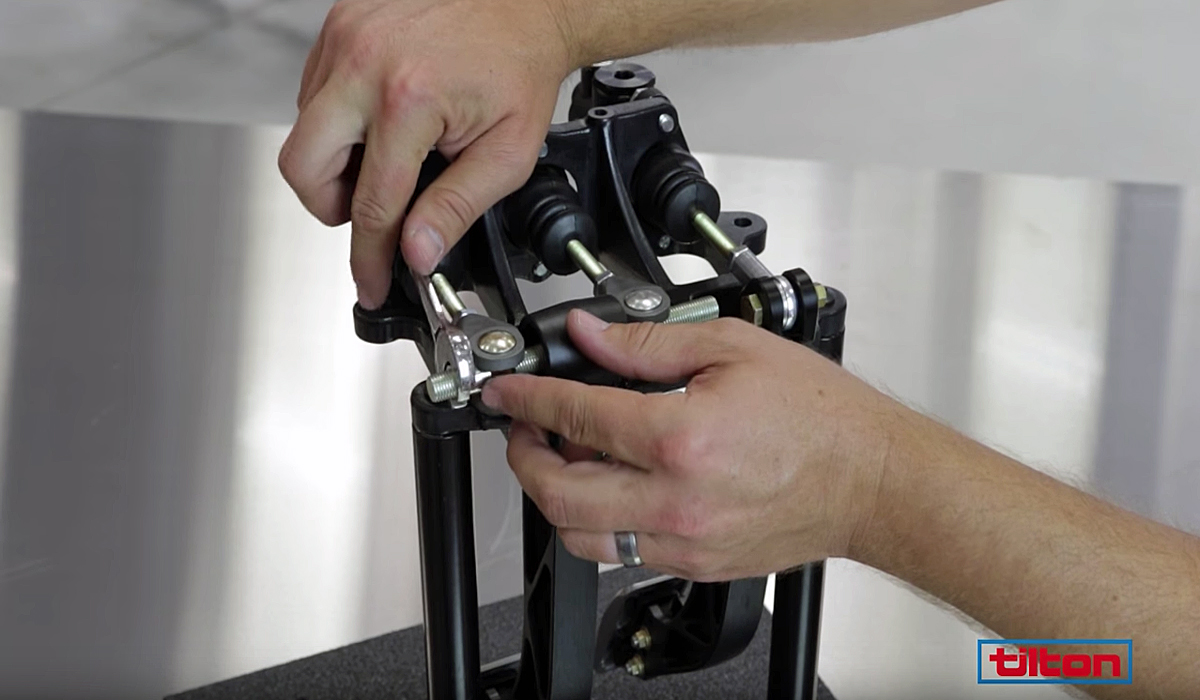
At this point, making a brake bias adjustment is as simple as loosening the balance bar locking nut and rotating the bar so that the spherical bearing moves towards whichever master cylinder, note that each full turn of the adjustment bar is equal to roughly a four percent change in braking force bias. Once your bias is set to your liking, remember to retighten the locking nut to the specified torque setting in your instructions to prevent the nut from loosening due to vibration, which can cause the bar to change bias or fall out of a clevis.
The balance bar has a maximum bias adjustment of 30 percent, if your setup requires further adjustment outside of its designed range, a cylinder bore size change will need to be made.
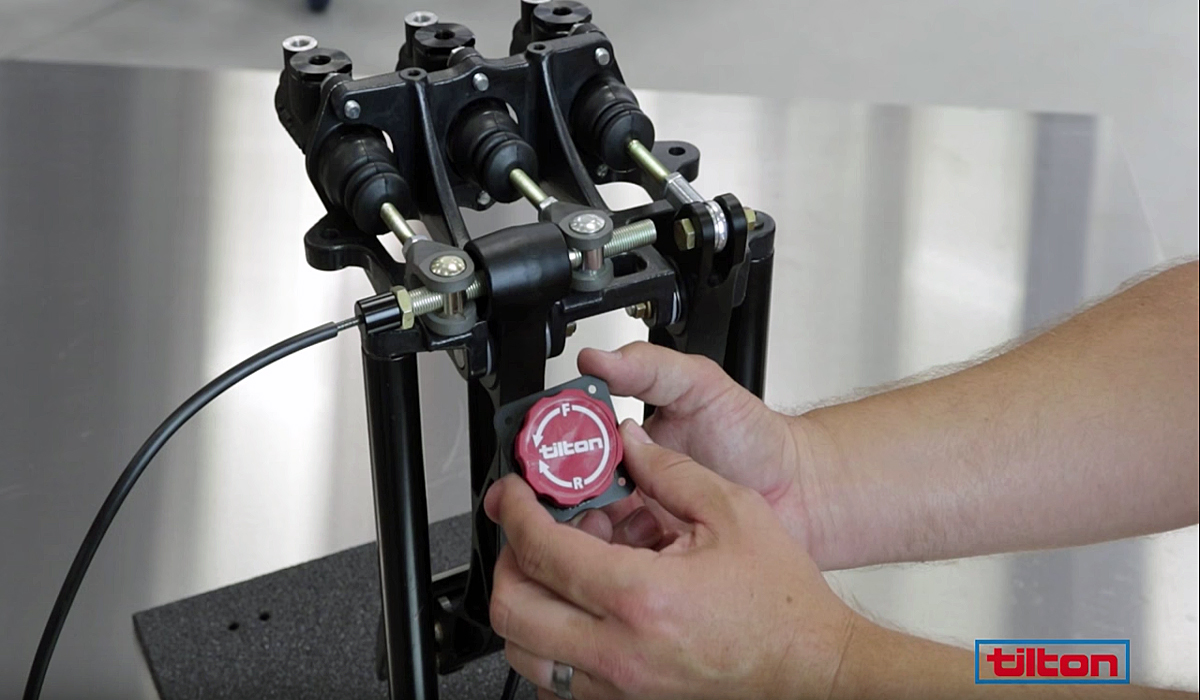
In an effort to make adjustments even easier for racecars that require frequent bias changes depending on the track being raced on and the specific driving conditions, Tilton also offers an optional remote bias adjuster that can be mounted in the cabin of the car, allowing for adjustments to be made in just seconds.